Step By Step Guide
Setting up the Programs
Installing the Creator Companion
Download the VRChat Creator Companion from the VRChat official website. Make sure you’ve logged in to do so.
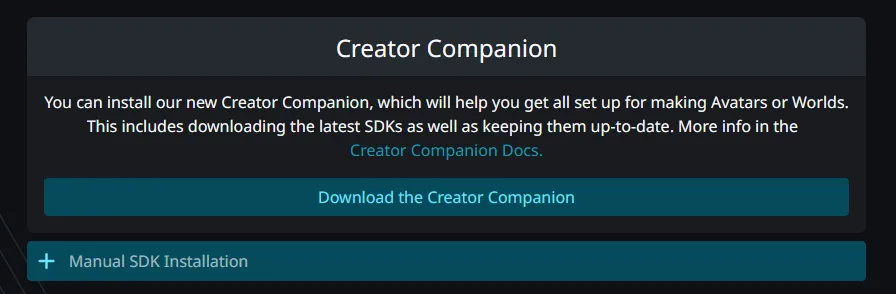
Open the executable you just downloaded, choose the appropiate install mode, agree to VRChat’s terms and finish the installation process.
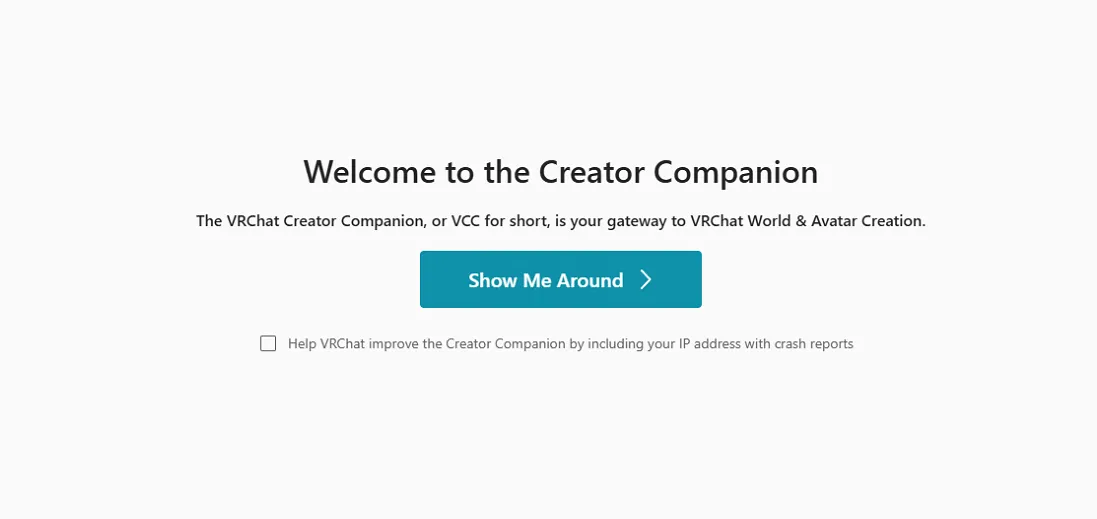
Now open the VRChat Creator Companion and follow its setup process, which will require you to install the Unity Hub if not installed already.
Installing Unity Hub
Download Unity Hub from Unity’s official website, and create a Unity account if necessary. Open the install executable, agree to Unity’s terms and install Unity Hub.
Unity Hub may ask you to install the latest version of Unity, but you should skip installation, as that is not the appropiate version of Unity for VRChat.
If it’s your first time working with Unity, you’ll be required to get a Personal License. It does not cost anything and all you need to do is hit “Agree”

Installing the Appropiate Version
Go back to the VRChat Creator Companion, hit “I have installed the Unity Hub” and install the version prompted by the Creator Companion.
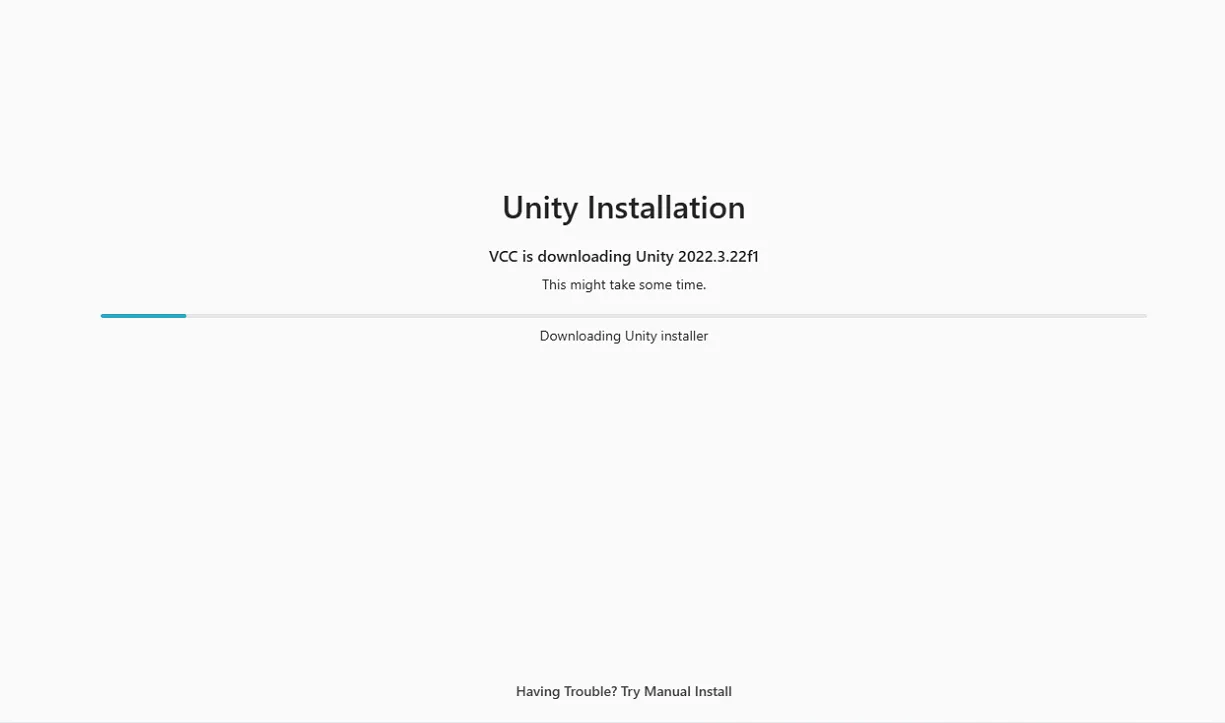
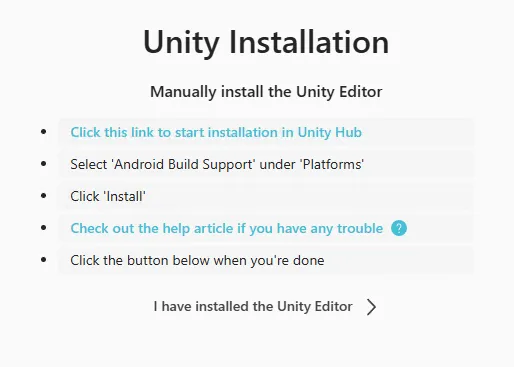
In some cases the install may fail. If this is happening to you, try the Manual Install and follow its steps
The installation process will take a while, but once it’s finished, you can get into creating a new project!
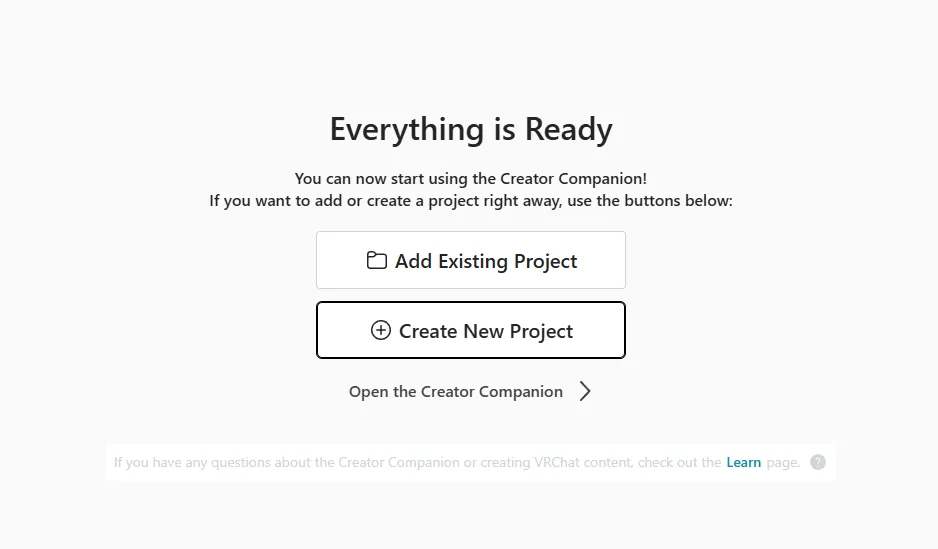
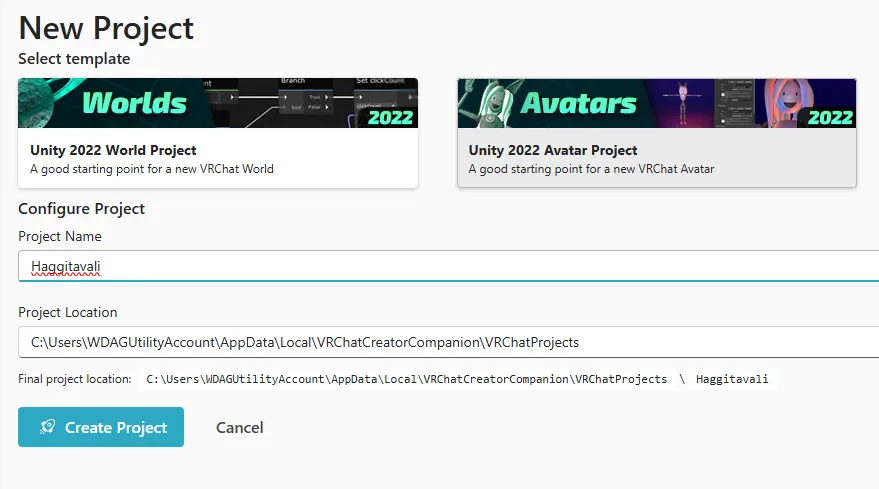
Setting up the Project
Create a new project in the Creator Companion, make sure to select the Unity 2022 Avatar Project (or whichever is newest in the future), choose a project name and location of your choosing, and create the project. You’ll be taken to the projects’ manage page after this.
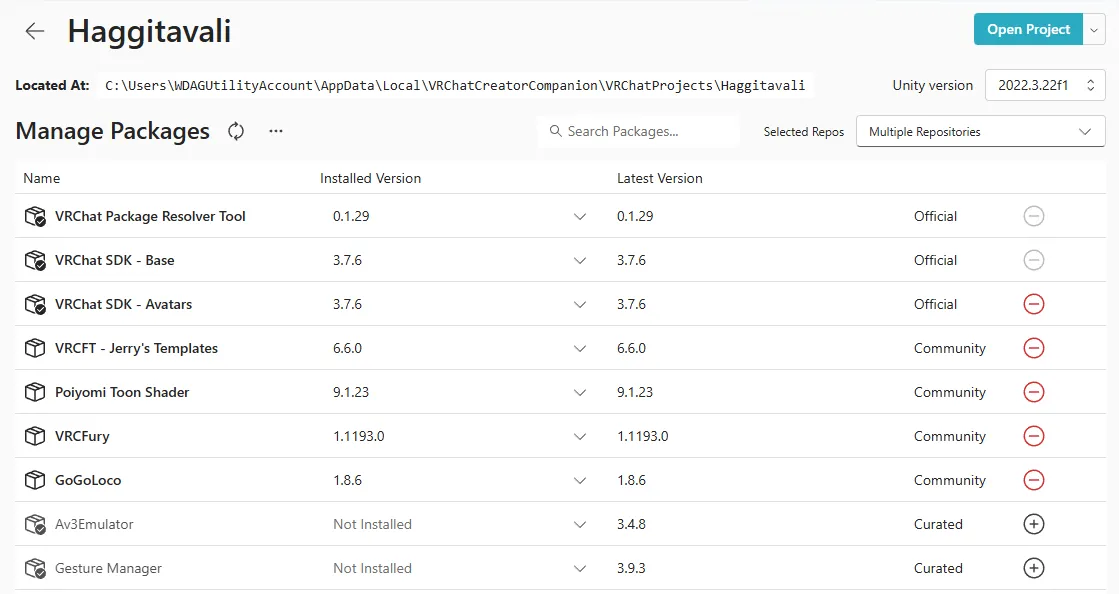
Before opening the project in Unity, go to Settings > Packages. The Haggita’vali requires certain dependencies in order to work properly.
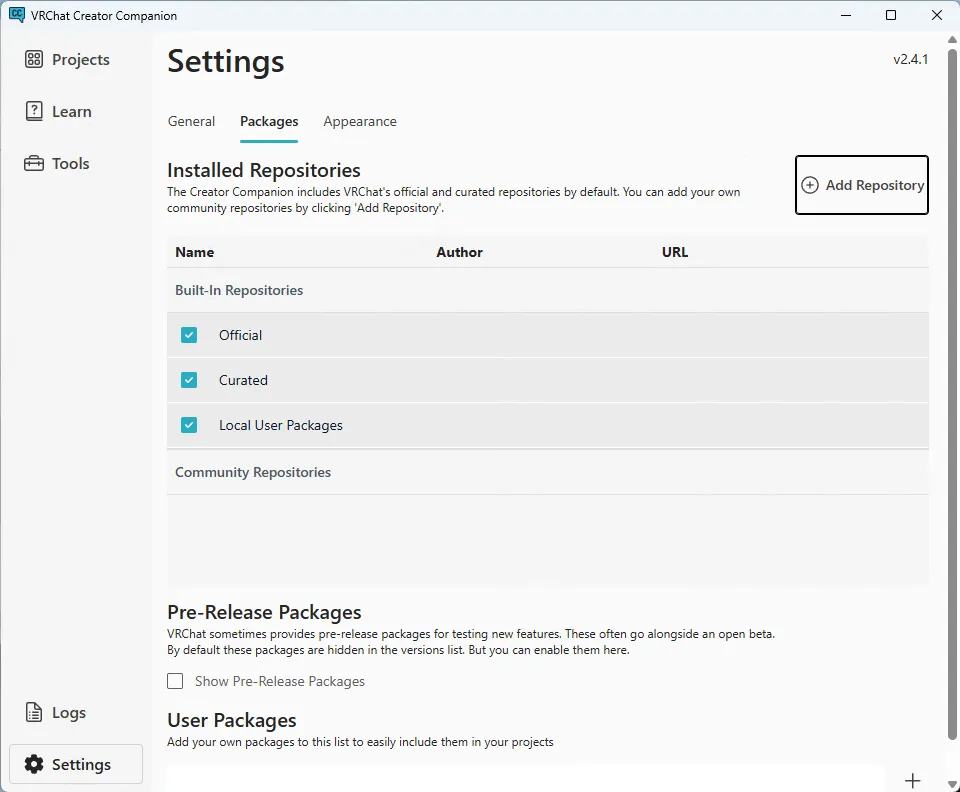
If you’re unable to install the packages through the normal method, you can click on Add Repository and input the appropiate links manually.

If any of the links are broken, you can search them online as these are popular dependencies. Use common sense and ask other VRChat users if unsure on which website to go to!
VRCFury
Download VRCFury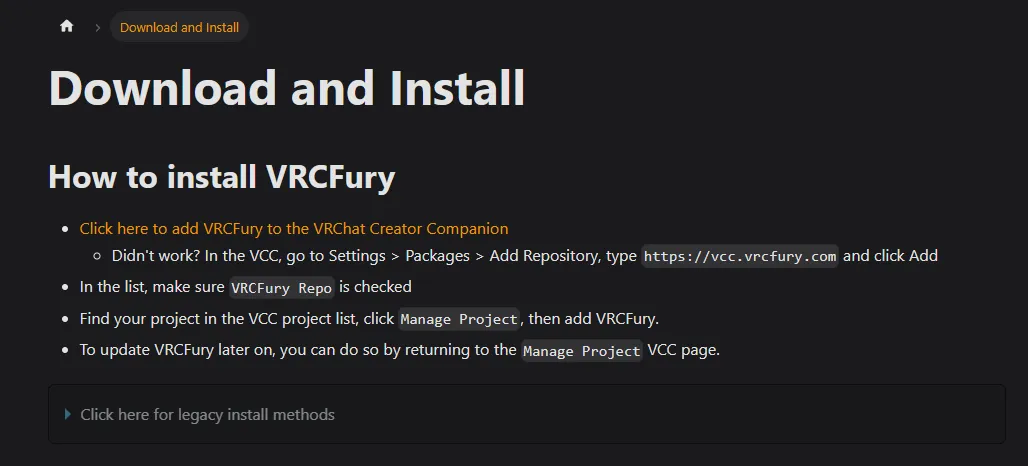
Poiyomi
Download Poiyomi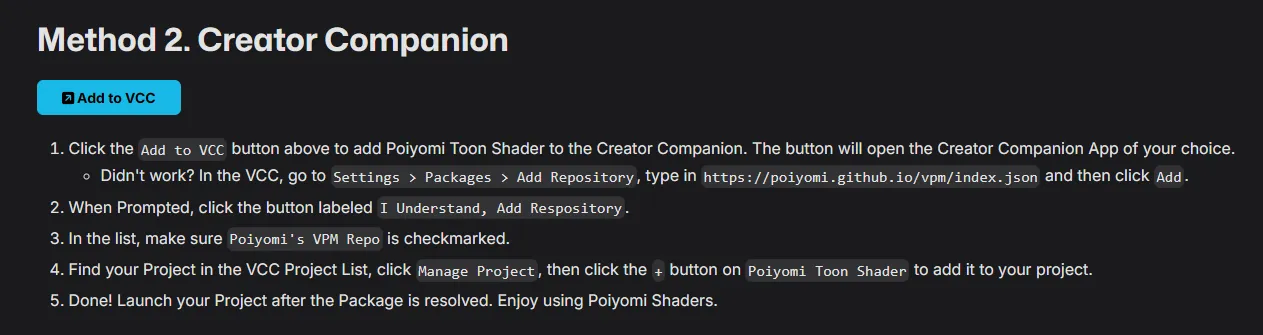
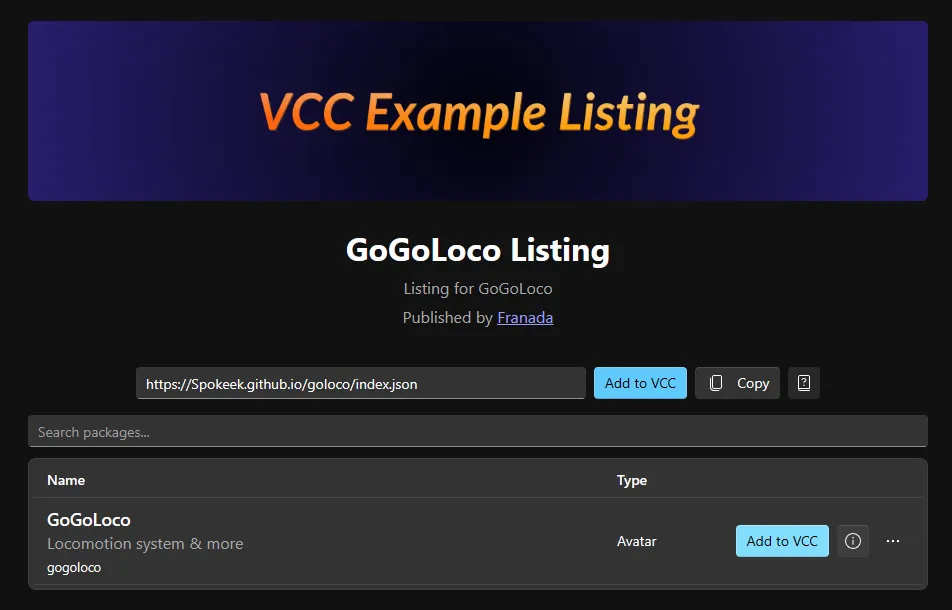
GoGoLoco
Download GoGoLocoClick on “Add to VCC”.
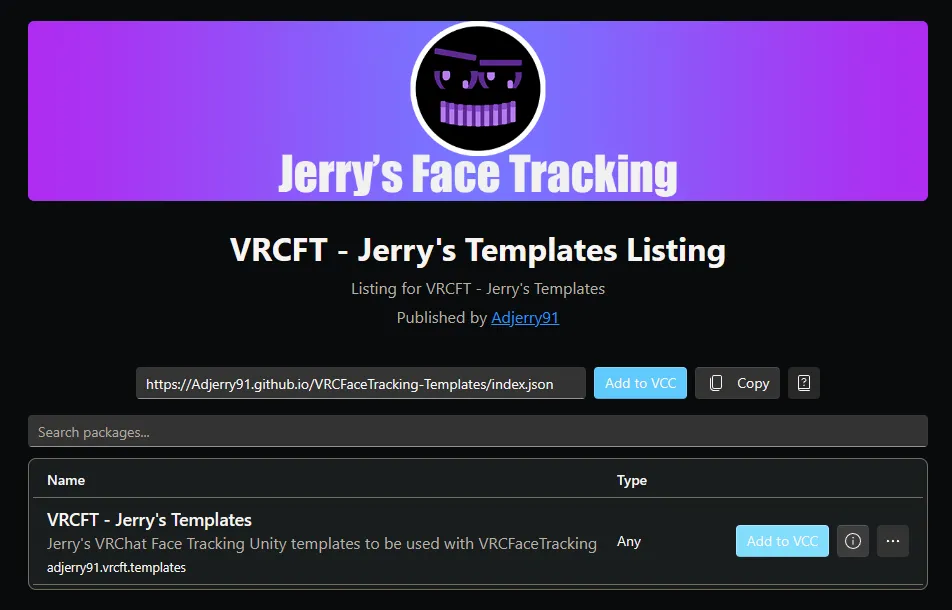
VRCFT - Jerry’s Template (If wanting to install Face Tracking)
Download Jerry's TemplateClick on “Add to VCC”.
If you don’t have face tracking equipment, you can skip this.
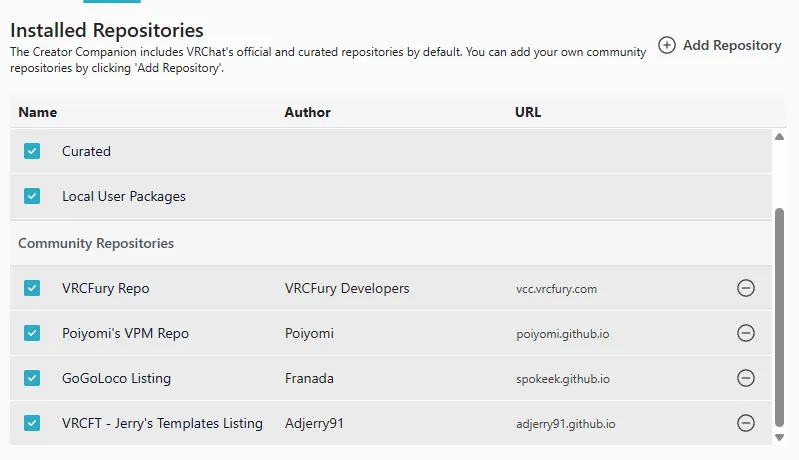
Your community repositories should look like this.
Now go back to the Projects menu, click Manage Project on your newly created project, and click the + icon on the added repositories.

Your packages should look like this. Now open the project, we’re almost done!
Setting up the Avatar
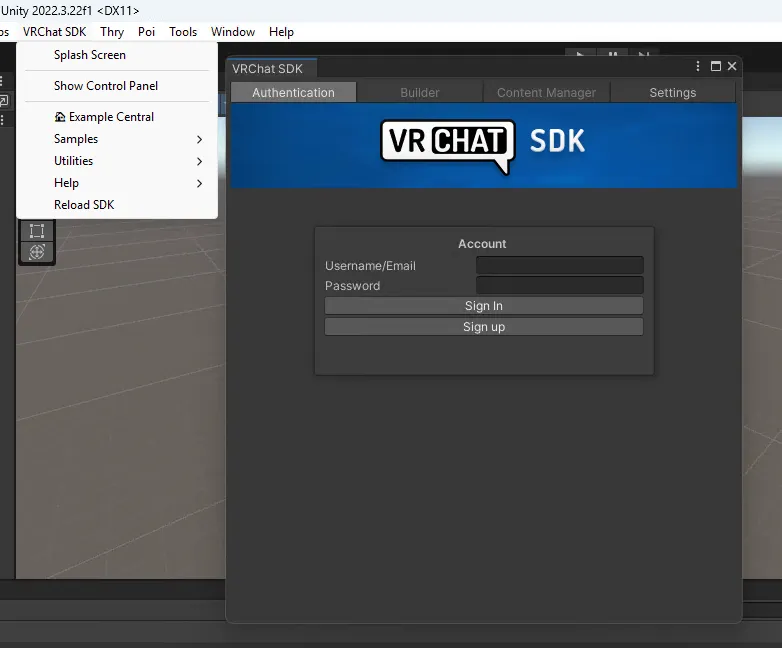
On the top bar of the Unity Editor, click on VRChat SDK > Show Control Panel, and sign up into your VRChat account.
Download the Haggita’vali Unity package, double click it, and click on Import.
Alternatively, right click in the Project window and select Import New Package > Custom Package, then select the avatar package and click on Import.

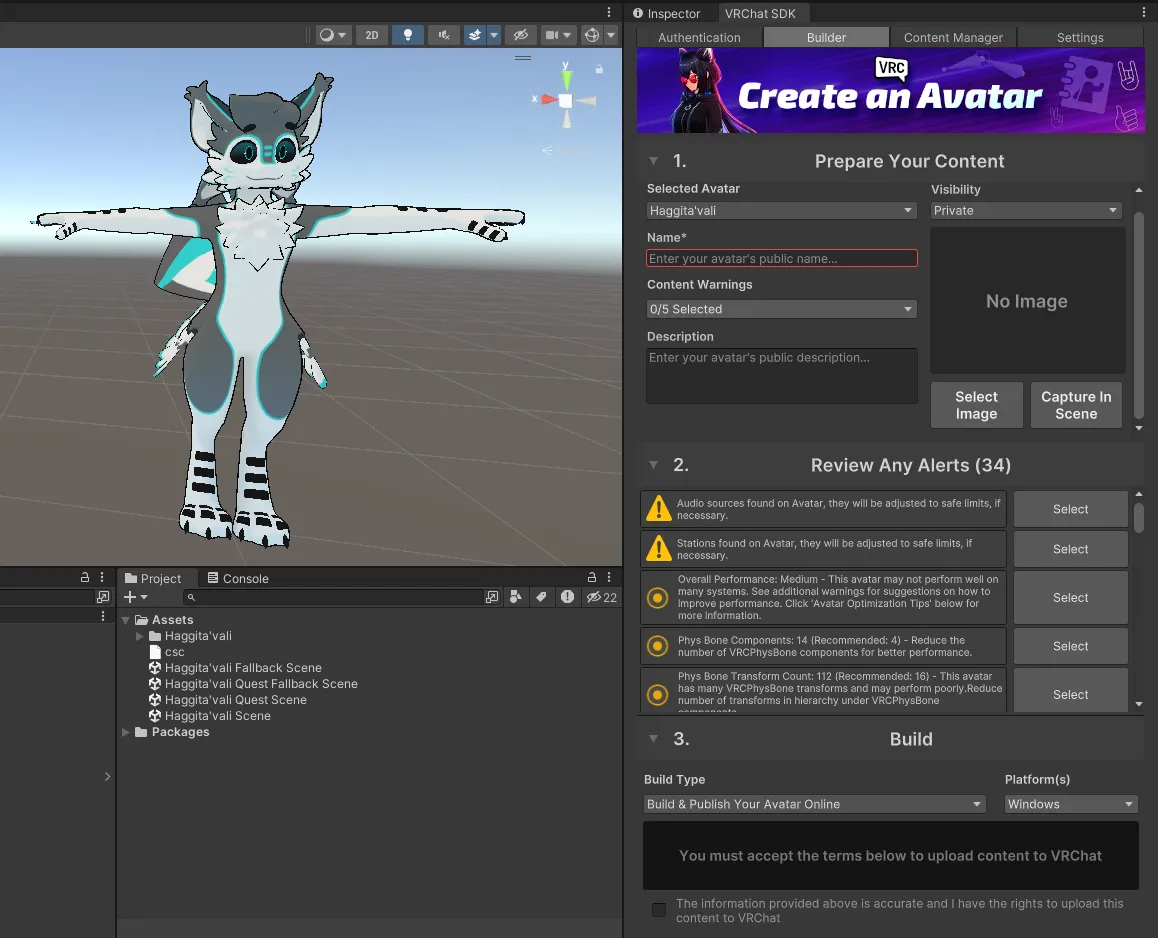
Now all you need to do is go back to the SDK, choose a name and description of your liking, select the thumbnail if desired (Which is stored in the VRChat folder inside the avatar folder), Accept the terms and upload!
Congratulations! have a silly screenshot.
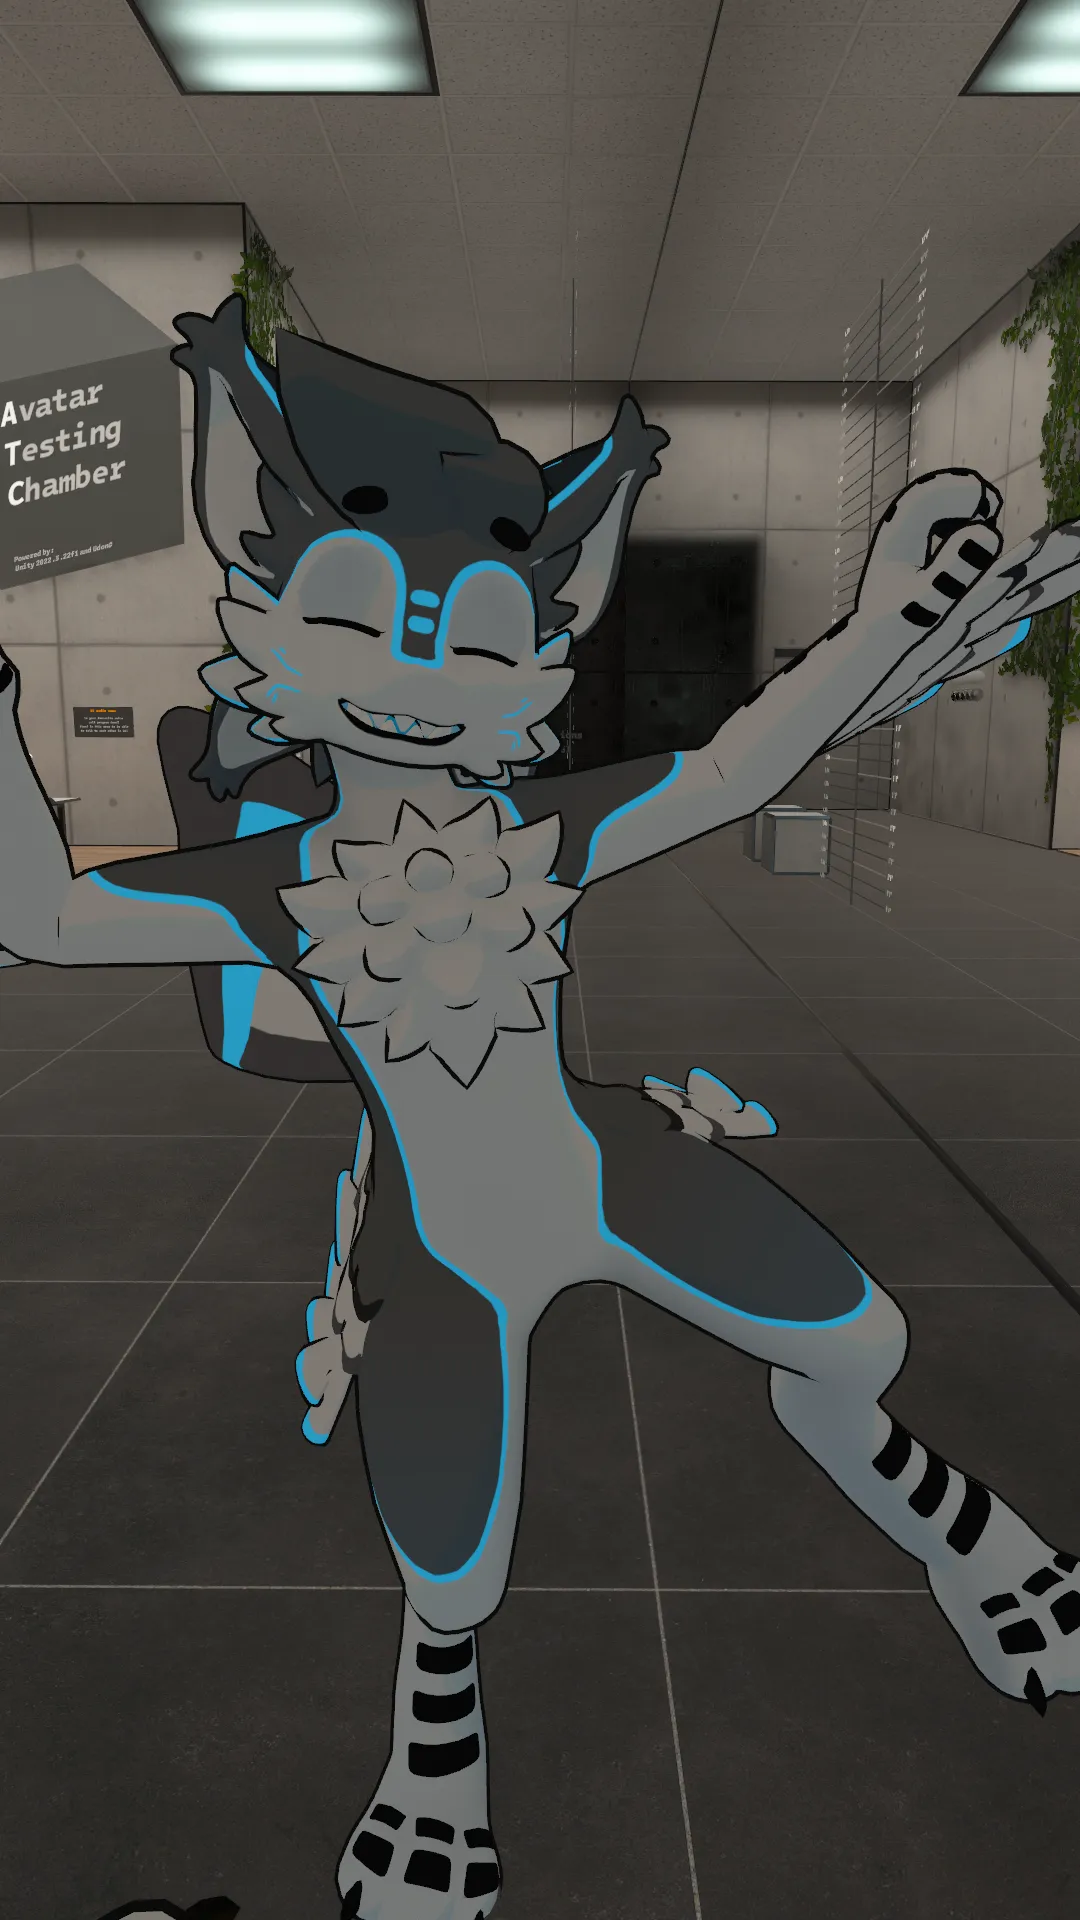
Once you open VRChat, the avatar should appear under the Uploaded tab, switch to it and there you go! Have fun!
Leave a rating if you enjoy it! It means a lot!
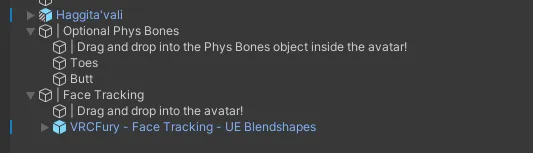
Adding Face Tracking/Additional Phys Bones
If you want to enable Face Tracking, simply drag the VRCFury - Face Tracking object into the Haggita’vali avatar in the Hierarchy.
If you want to add extra phys bones, drag the corresponding one into the Haggita’vali avatar in the Hierarchy, preferably in the Phys Bones “folder” for better organization.
Uploading for Quest
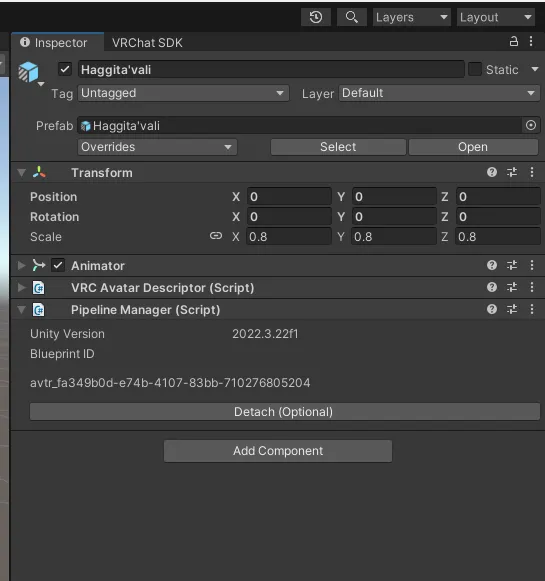
Upload your avatar to Windows first, then click on the avatar in the scene and go to the inspector, you’ll see a Blueprint ID at the very bottom. Select and copy that, and then click on the Haggita’vali Quest Scene.
Now select the avatar again, paste the string you copied into the Blueprint ID input, and click on Attach.
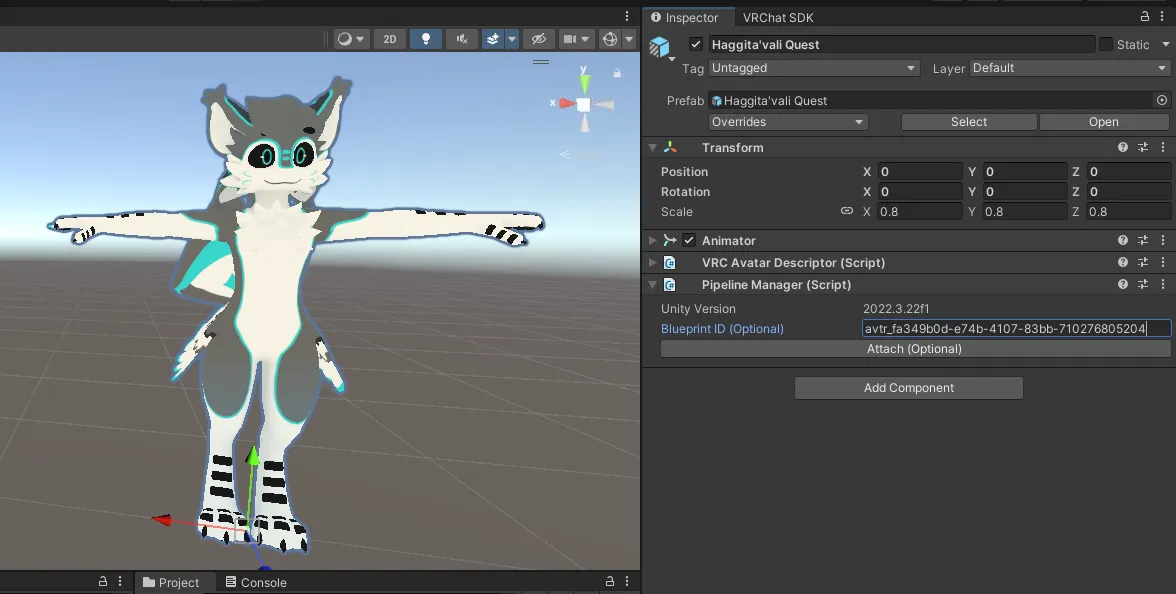
In the VRChat SDK, if you see the same name and description as the desktop version, then you used the correct ID.
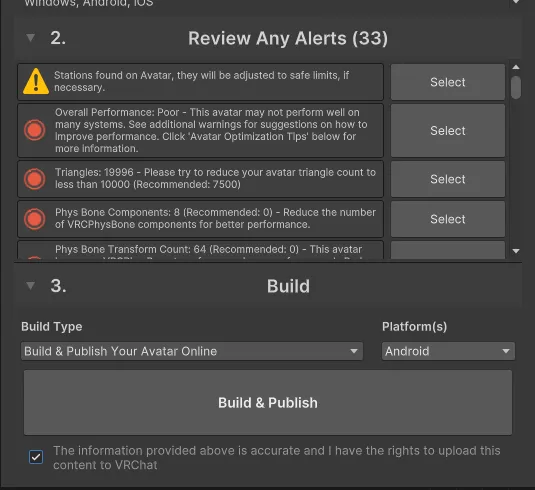
Switch the platform to Android (At the bottom right of the menu), and wait a bit for Unity to finish the conversion. Hit publish and you’re done!
Uploading Fallback
Uploading the fallback version is the same process as before, but with the Haggita’vali Fallback Scene and Haggita’vali Fallback Quest Scene. Upload each on their respective platforms while making sure they have the correct ID.
After uploading on both platforms, “Set this avatar as fallback” should appear right below the thumbnail in the SDK. Click on it and you’re done.
