Editing the Avatar
Modifying Components
The avatar is laid out in a way that allows for easy customization or removal of components. Each component type is contained in “folders”, with the name of what it does or what bone it affects.
There are additional phys bones as well as Face Tracking you can add. Simply drag and drop them into the model and there you go.
For example, if you want to remove the phys bones from the wings, all you need to do is delete the Wings object from the Phys bones folder.
Editing Textures
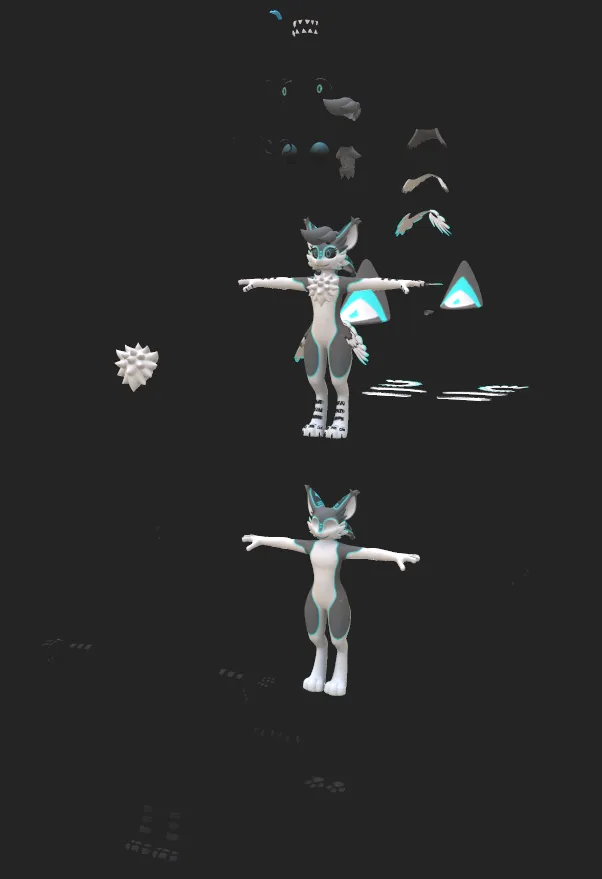
Both the Substance Painter file and PSD files are provided. The layers are labeled and should be easy to navigate through, and the model itself is also “exploded” to allow focus on specific parts of the body, specially useful is something is in the way.

Normal textures from a detailed mesh are provided, which could be useful for when using realistic shaders with the avatar to make the details pop out more. They are used in the base avatar, however since it uses a cartoony shader, it does not pop out as much.
The avatar uses 2 custom texture types
Outline size as a black and white texture, for Poiyomi’s shader.
Decal mask as a colored texture, for defining which areas to affect when using the hue shift radial. Specifically on the secondary hue shift
The model uses 4 materials in total, the Body, Feathers, Hair and Eyebrows. You may notice that the eyebrows and hair are essentially empty, but the reason as to why they exists is to allow the eyebrow to pass through the hair with Poiyomi’s stencils.
For Quest, it is a single material with all 4 materials atlased, and with some free slots if you want to use them for whatever purpose.
Adding Clothing
Making and adding clothing to the avatar should be no different than any other avatar, and given that the avatar uses VRCFury, Armature Link can be used to attach clothing pieces to the avatar without increasing the amount of total bones.